Reliance Haulout
Tuesday, October 03, 2006
Hauling out Reliance
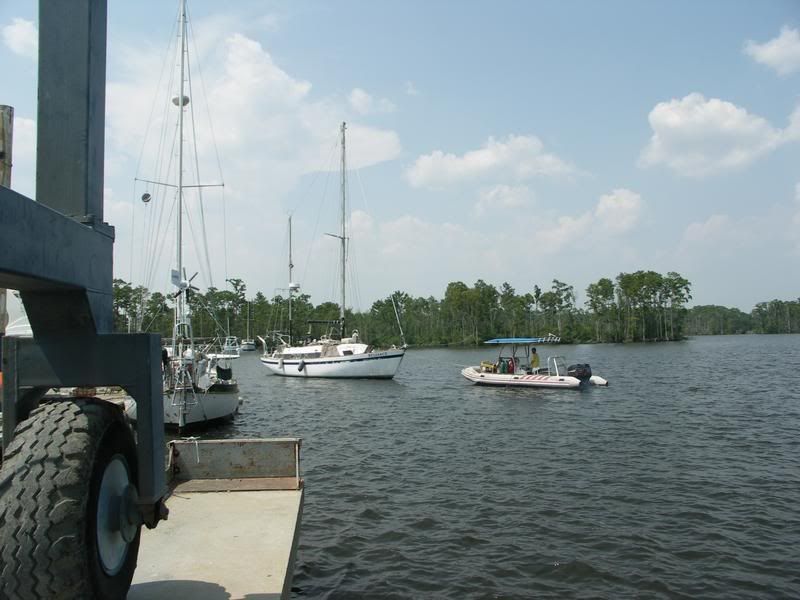
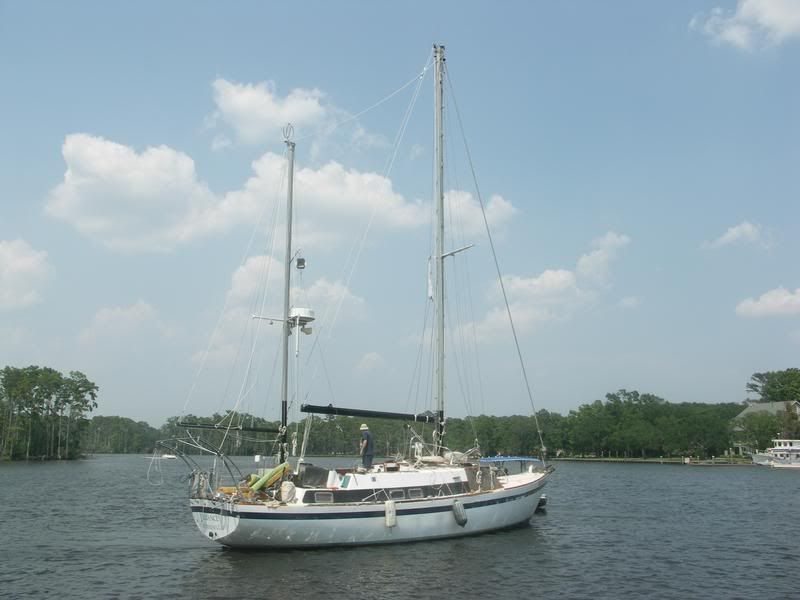
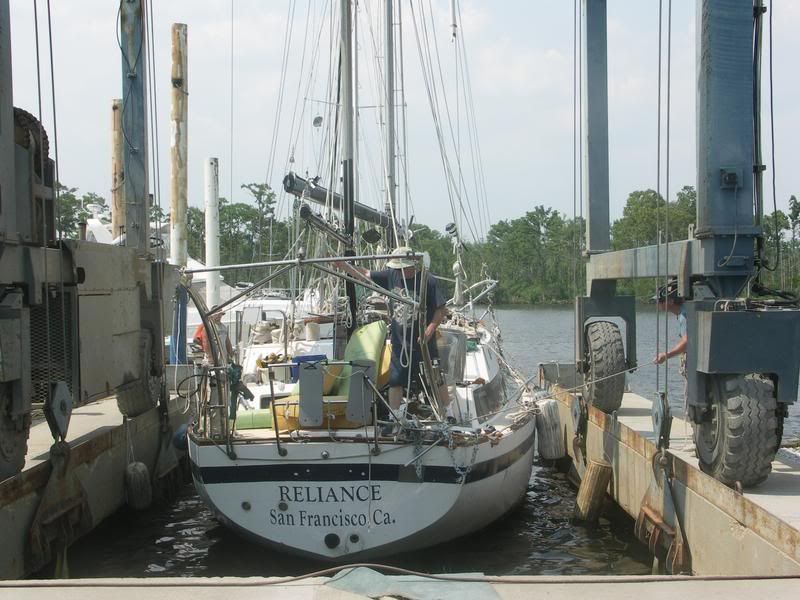
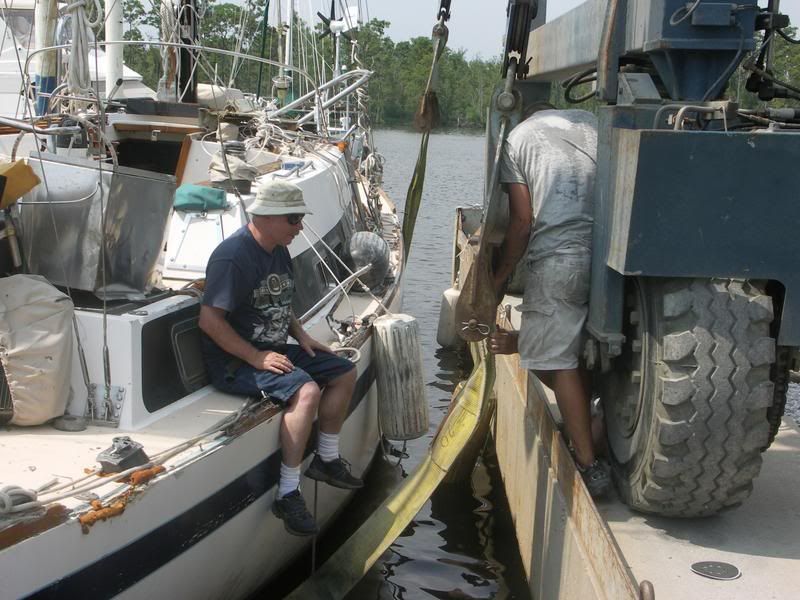
The underwater conditions of REliance were not known in detail. We also wanted to apply a copperpoxy bottom job instead to replace the more traditional abalative paints. Not for sure knowing the condition of the shaft and propeller Reliance was towed to the travel lift pit from the nearby anchorage.
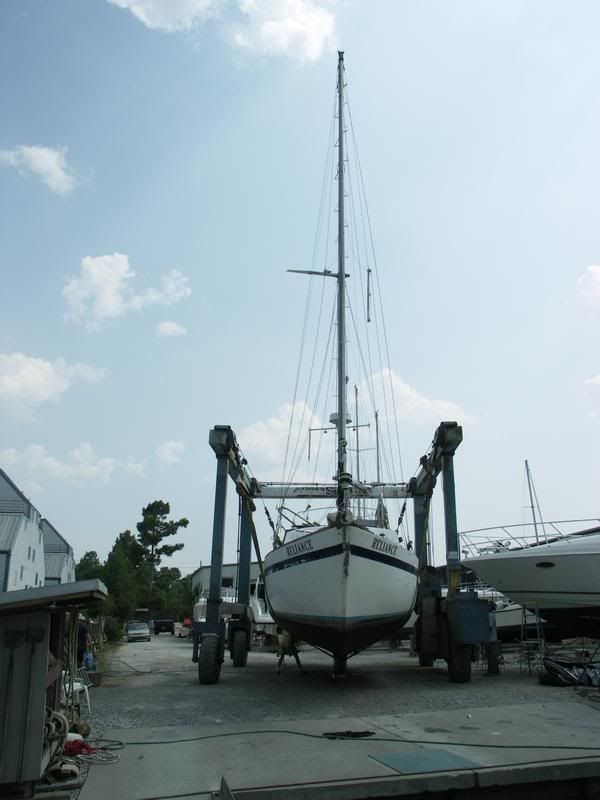
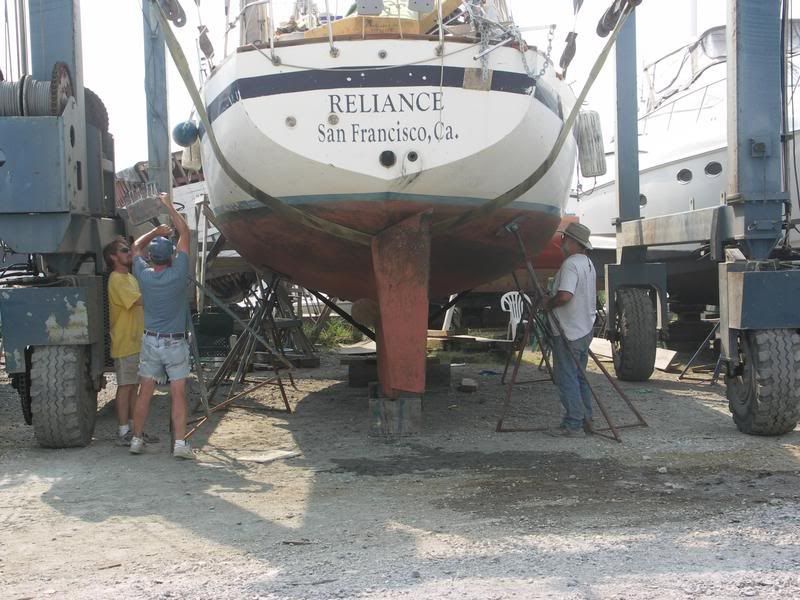
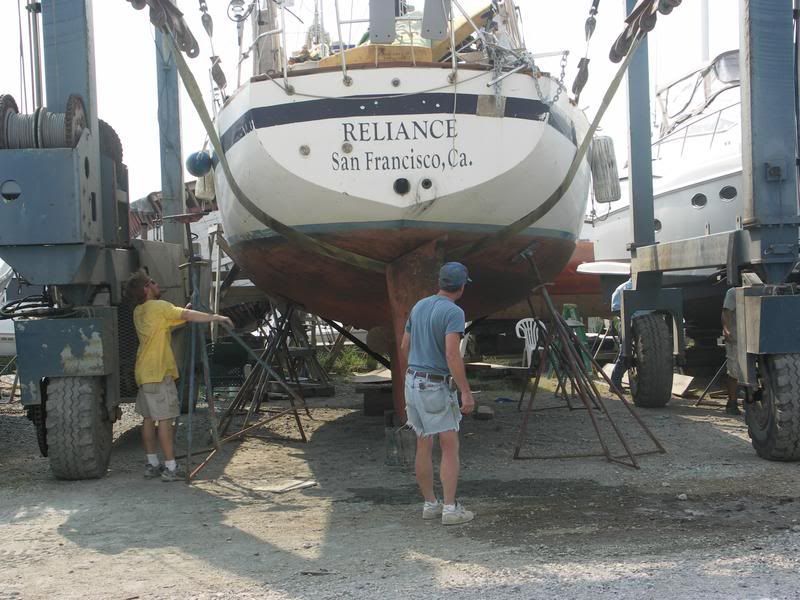
Once in the travel lift pit the belts were adjusted and the boat picked up. (by the way, a Cal 46 is not a lightweight boat).
Comming up (no, the prop isn't broken)
Out of the water and pressure washing.
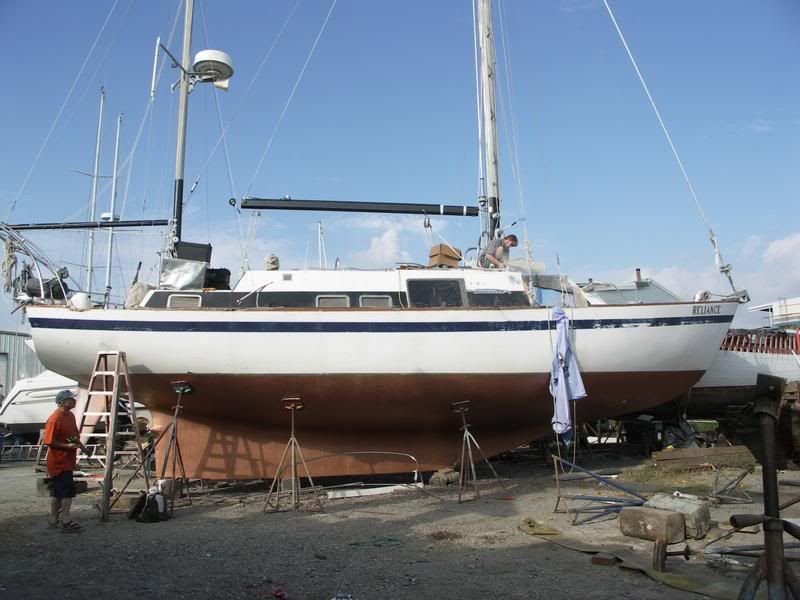
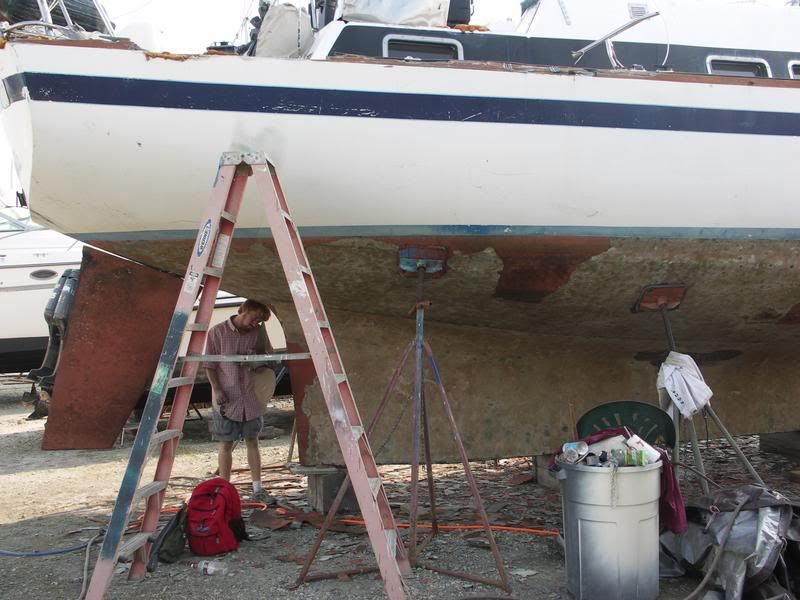
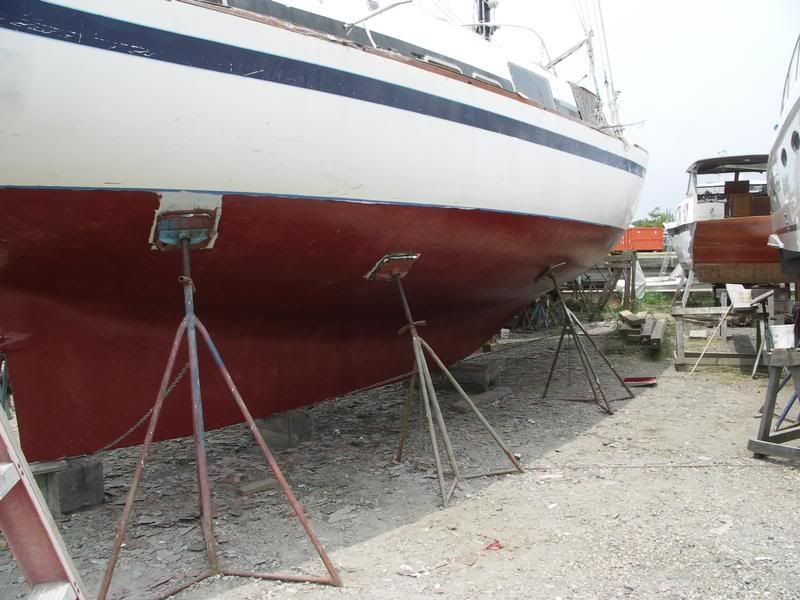
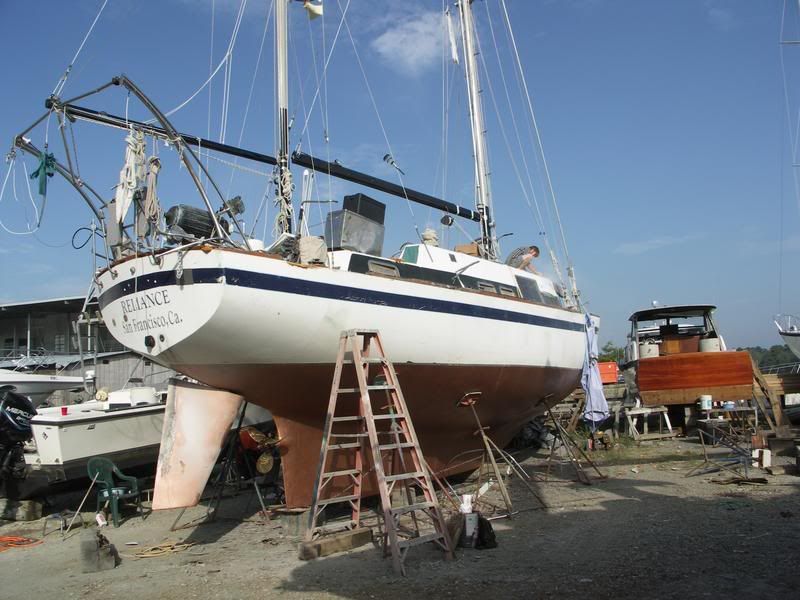
Then blocked. First the boat is set on 12x12 timbers. The majority of the weight is rested on the blocks, essentially holding the boat up through the keel. Then jack stands are placed near the boat's frames to keep her upright. The stands are chained to each other to keep the tops from sliding outboard.
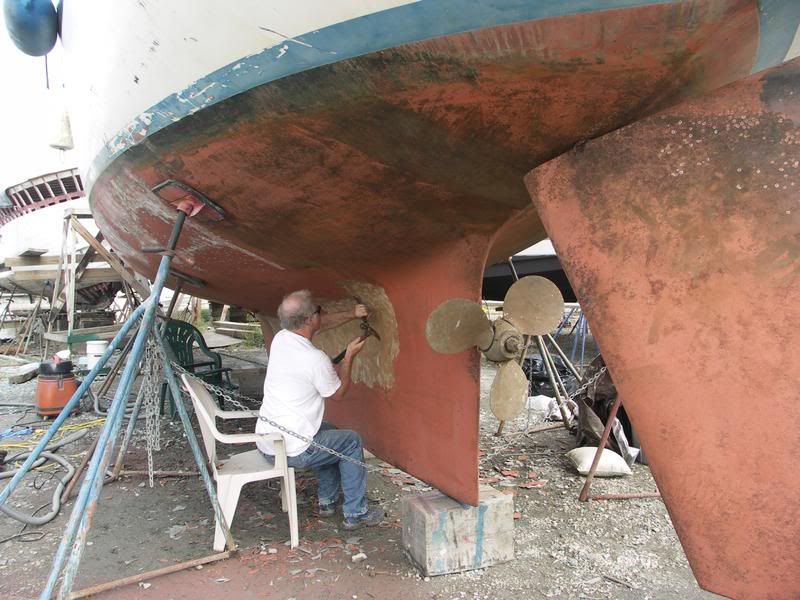
The prop is a Luke Feathering model. It's certainly gives performance gains under power and sail. It's large diameter bites the water well, in reverse the blades spin giving excellent backing power, and under sail it feathers out to reduce drag and increase speed by up to a knot over a conventional fixed prop. The backing power and diameter affects were immediatly noticed when the boat was relaunched and motored upriver. (the bottom has already been stripped in this photo, continue below for an explanation).
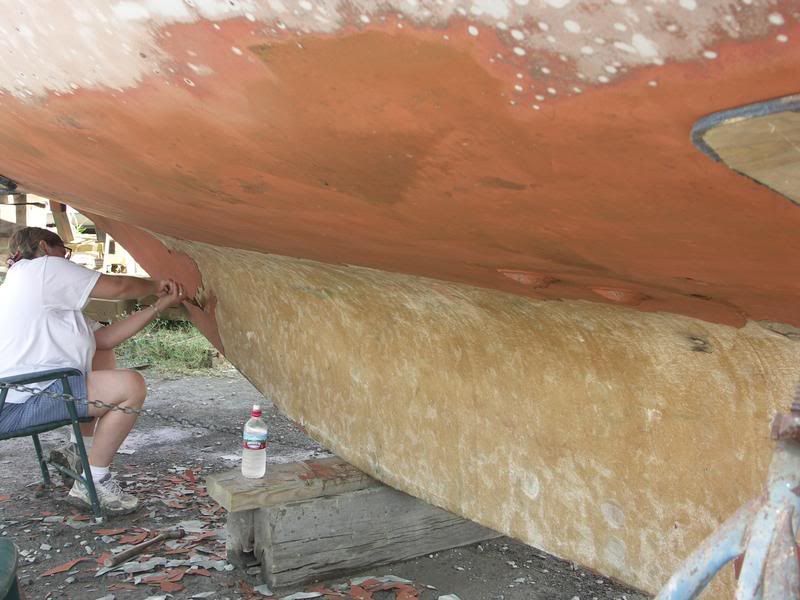
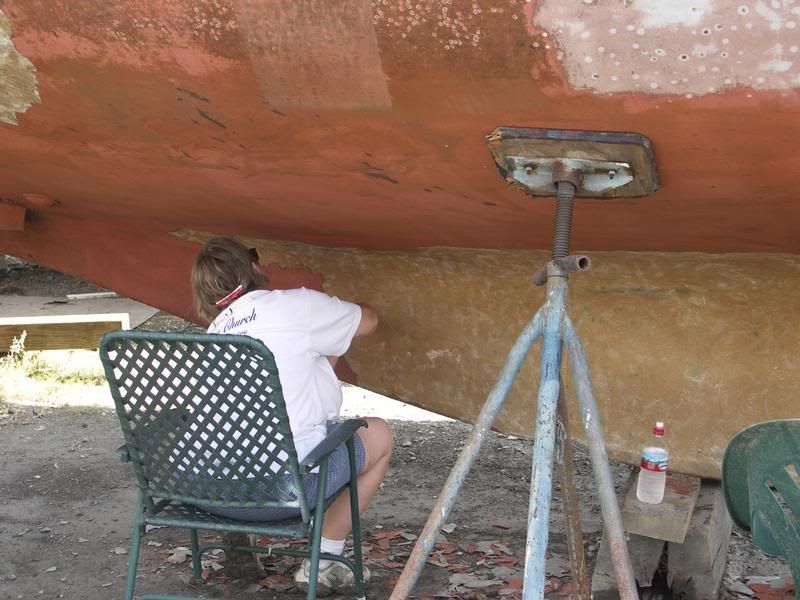
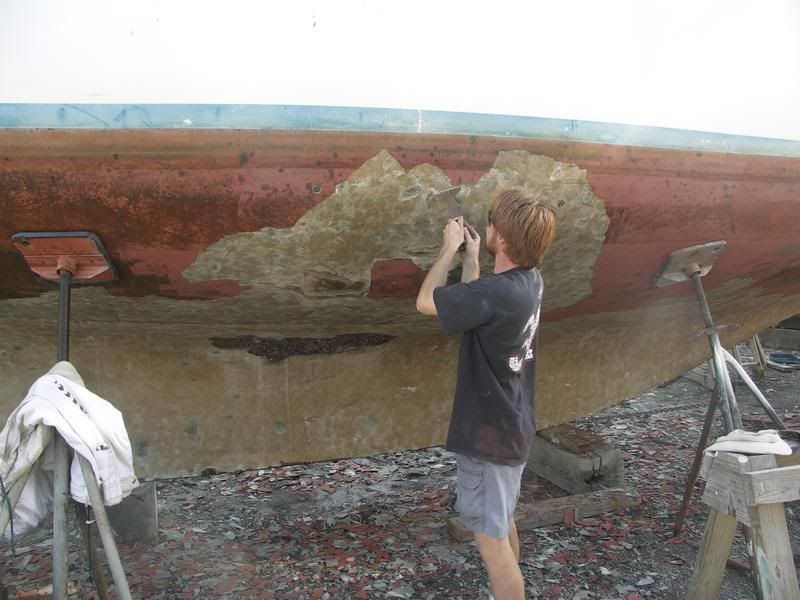
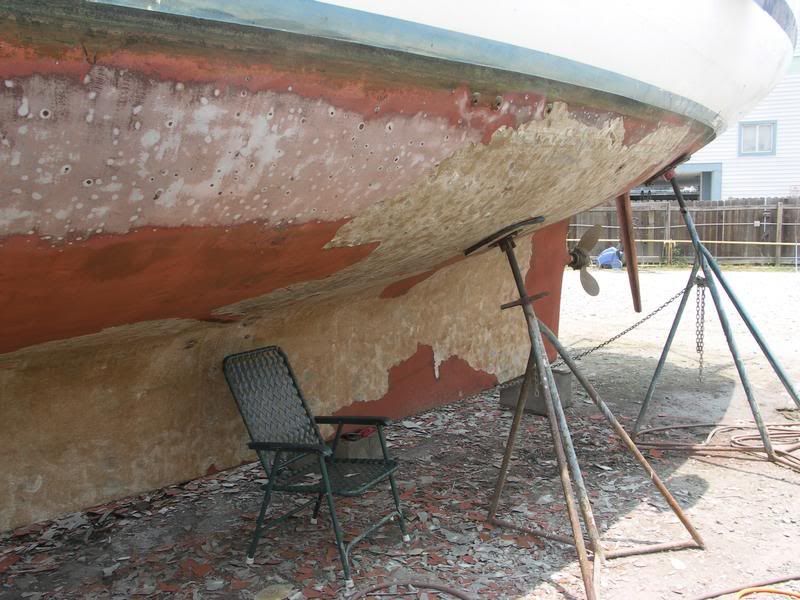
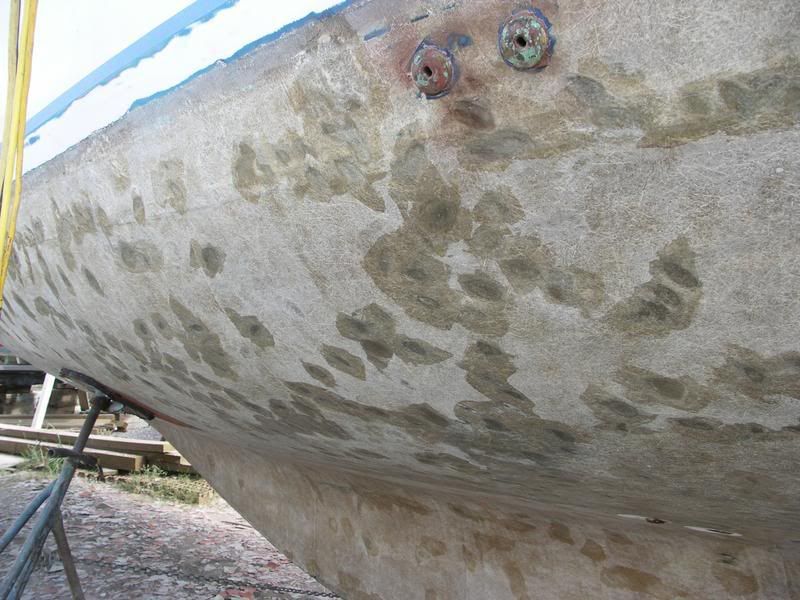
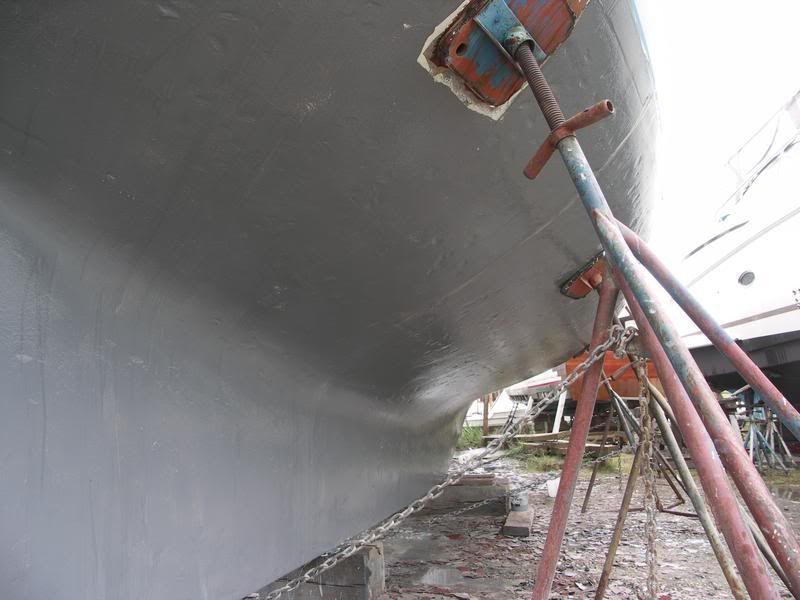
The bottom had been stripped of gelcoat, blisters repiared, the bottom refaired, epoxy barrier coated, and painted with antifouling. Unfortunatly the coatings failed and were blistering again. The local coatings expert (who also owns and runs the boatyard) suspected dry times were too long between coats, resulting in an inactive surface and lack of adhesion between barrier coats. Before copperpoxying the bottom of any boat must be taken down below any previous antifouling, though barrier coats can be left. However, due to the failing coatings Reliance had to be taken down to bare glass. Fortuantly, in a way, it was easier than if the coatings had been in better shape because we were able to peel all the old paints and fairing compounds away instead of months of sanding. Most of the blisters didn't make it through to the bare glass, so the hull laminate hadn't absorbed water. Good also, because otherwise the boat would have had to have baked for a few months to reduce the laminate moisture content.
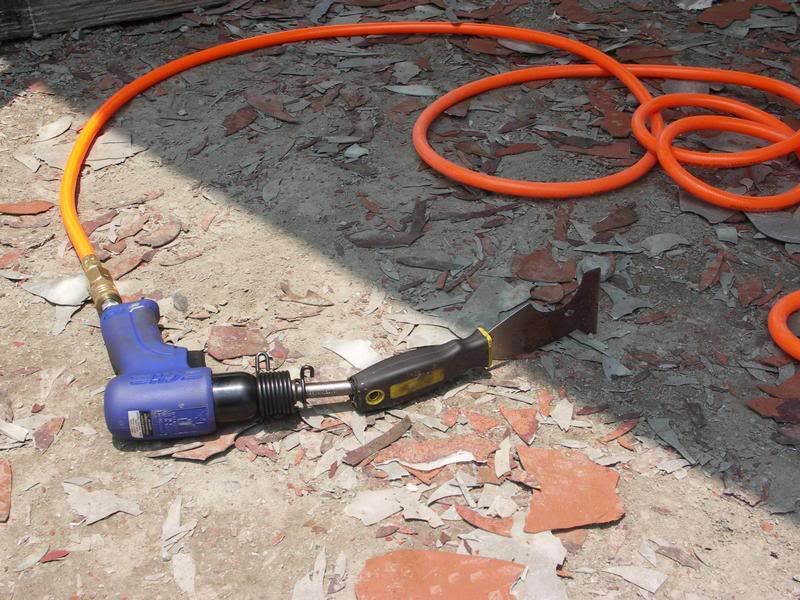
The peeling devices...
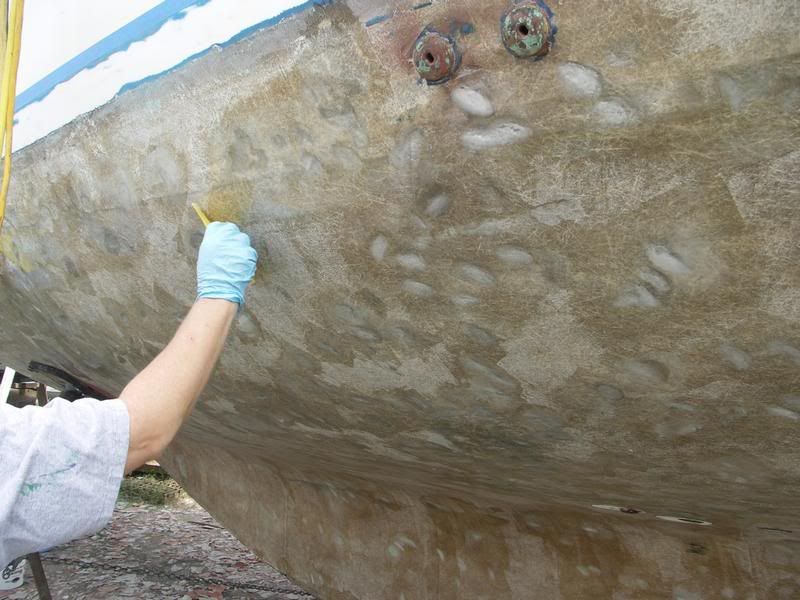
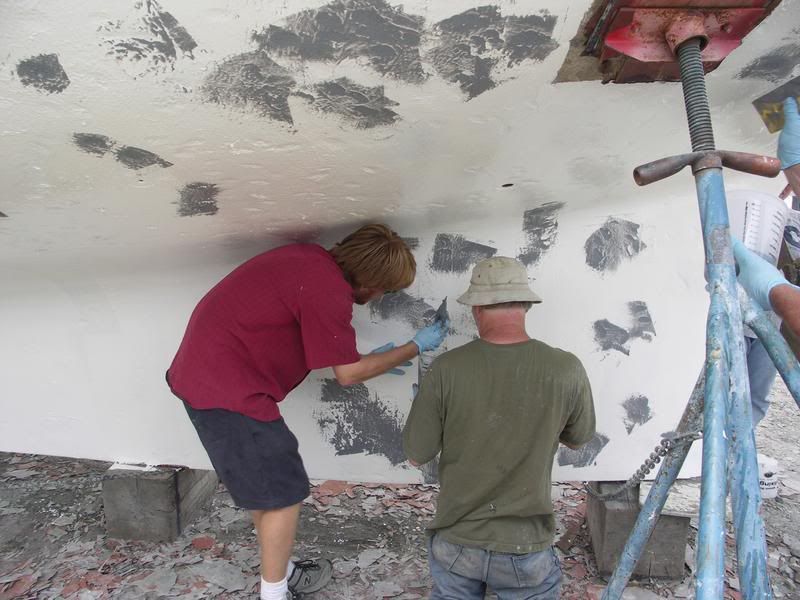
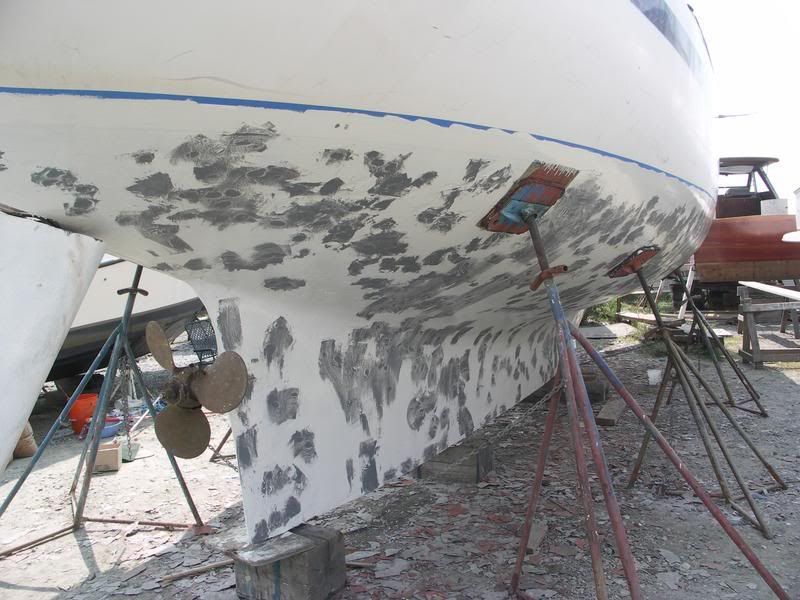
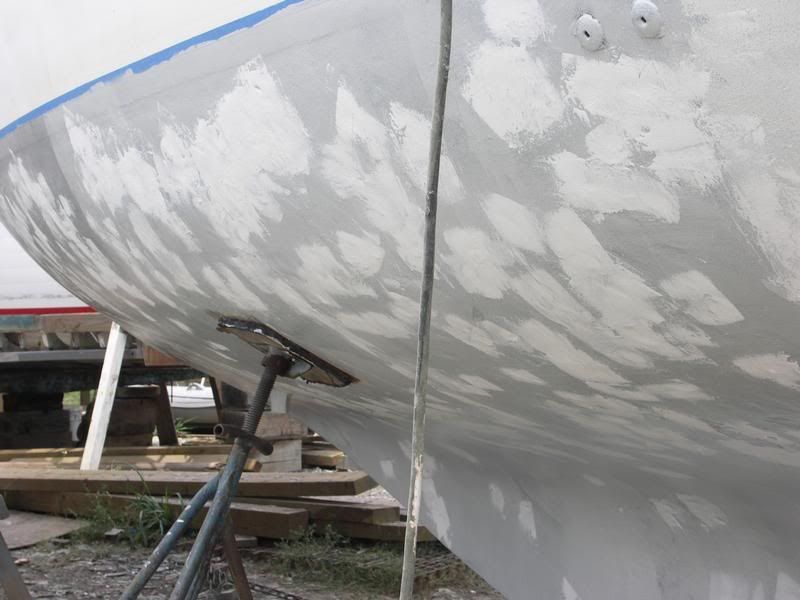
After peeling we began refairing. The previously repaired blisters on the bottom had not been deep so cosemetic repairs were all that was necessary. First we filled with a thickened epoxy mixture (mas FLAG epoxy, fumed silica, and high density filler mixed into a peanut butter paste).
Rather than spending years filling, allowing it to cure, sanding, and re filling we opted for the slightly imperfect but far more time effective method. Since we were overcoating with a compatible epoxy based barrier coat, once the epoxy filler was mostly cured we could overcoat, and in the process gain a superrior primary bond between the two materials.
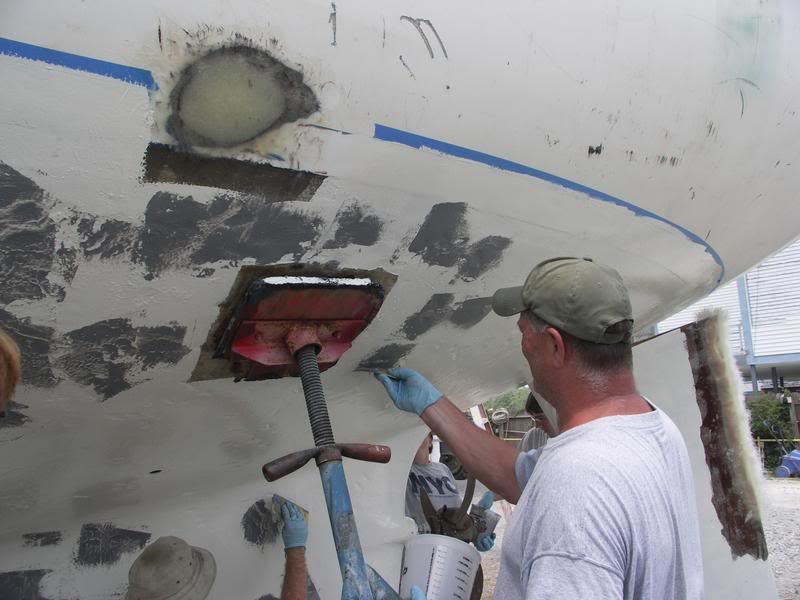
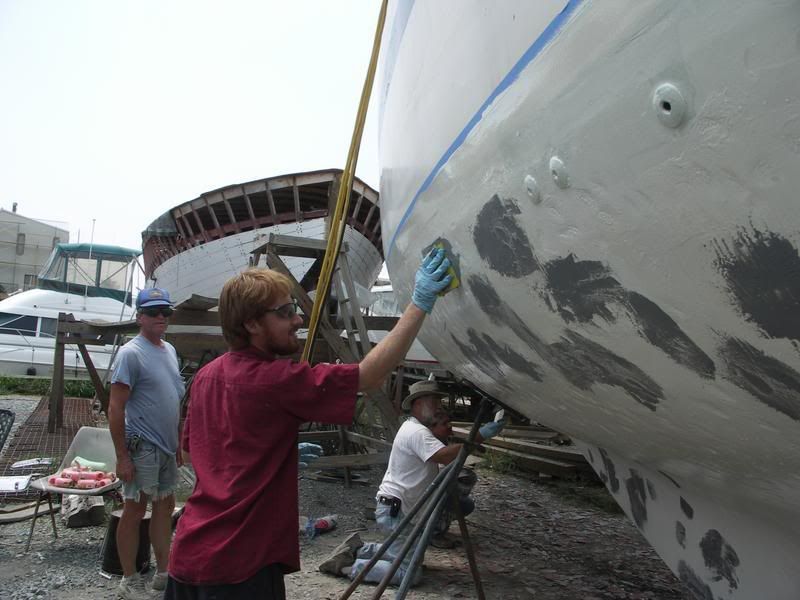
Once the first coat was very tacky, we mixed up a concoction of barrier coat and a special glass flake additive to create a paste. This was then used to fill the spots again. The barrier coat paint was manufacured by Umeguard, and is marketed as an industrial coating. We used alternating colors to assist in painting and checking visually for coverage. Otherwise there is no difference between the grey and white coats. Oh, and in 95+ degree weather it takes a handful of friends to get this paint on fast enough. It sets pretty quickly. Typically tacky enough to recoat within a couple hours. We allowed no more than 12 hours between coats (overnight, and evenings were cooler than the days retarding the curing process). When we applied each subsequent coat the previous was still slightly soft to the touch, if not tacky (tacky, like glues you hair to the boat when you run into it).
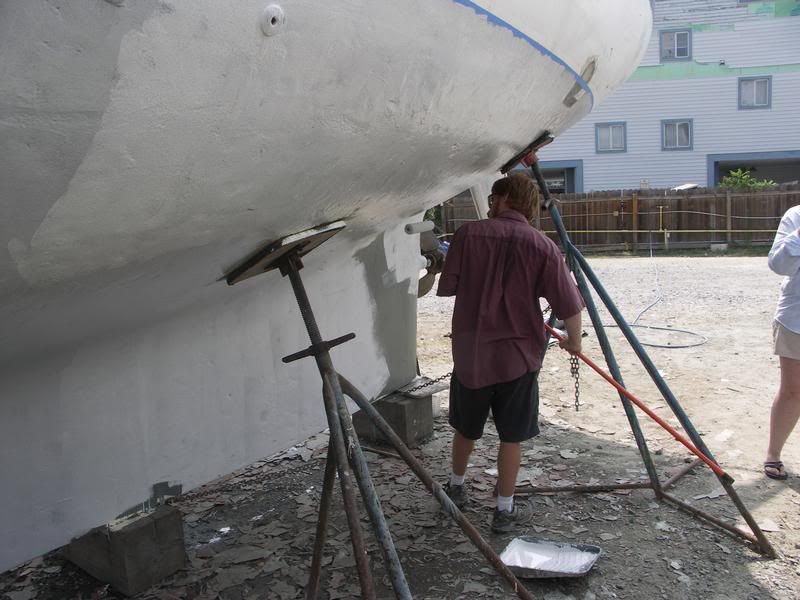
After the next "fairing" coat was tacky, about an hour (lunch break) if I recall correctly, it was time for the next full coat of epoxy paint. If you notice the water marks, that's from a thunder storm that ran past just as we were finishing the coat. It rained enough to streak a little of the paint, but didn't affect curing as the water very quickly evaporated off. The picture below also shows the water line being taped in the background. This paint isn't simple to remove once set, so if you don't tape a waterline don't expect to get out a sander later and adjust the paint line.
More fairing.
More Paint.
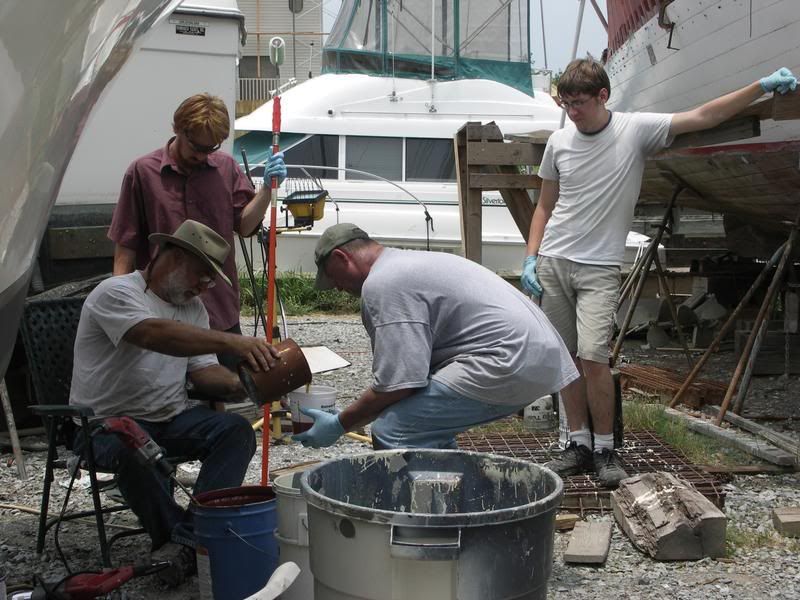
This is a two part paint by the way, it needs to be mixed fairly accuratly for predictable results (including supervisors).
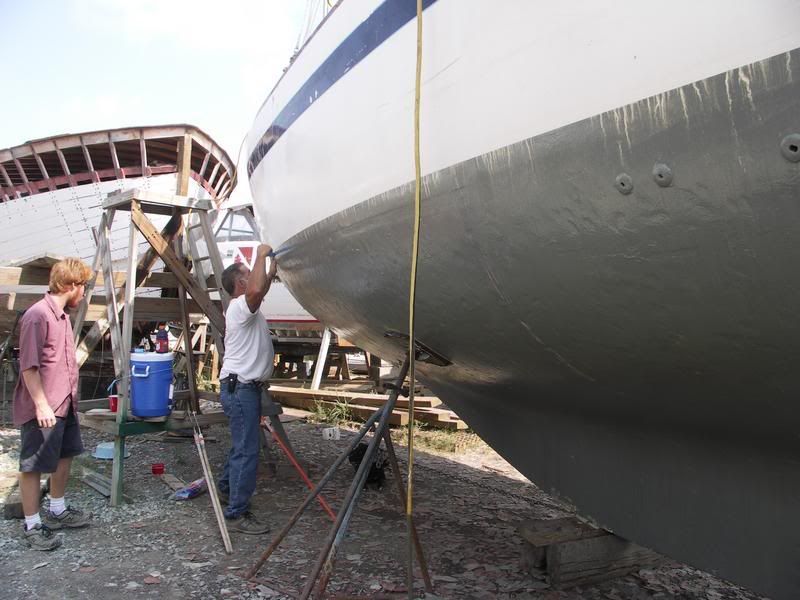
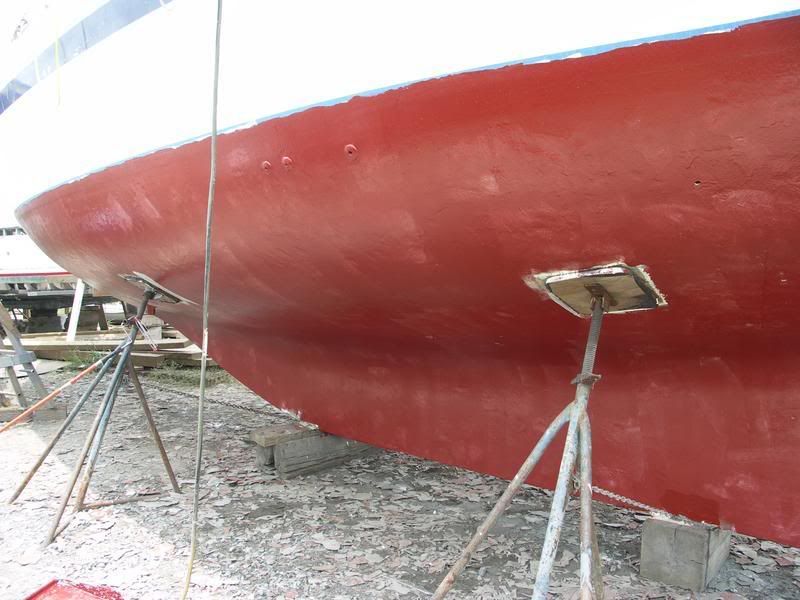
The final coat was a particularly high solids paint. Still and epoxy barrier coat, this time offered by CMP, and with the high solids it has an especially high resistance to osmosis and water intrusion into the hull over the years. (It's red, but no it's not in any way an antifoulding paint). Once dry all of these epoxy paints provide a very very hard coating on the hull, resisting abrasion, damage from marine growth, and other general removal methods (including sanding) boat bottoms are commonly subjected to.
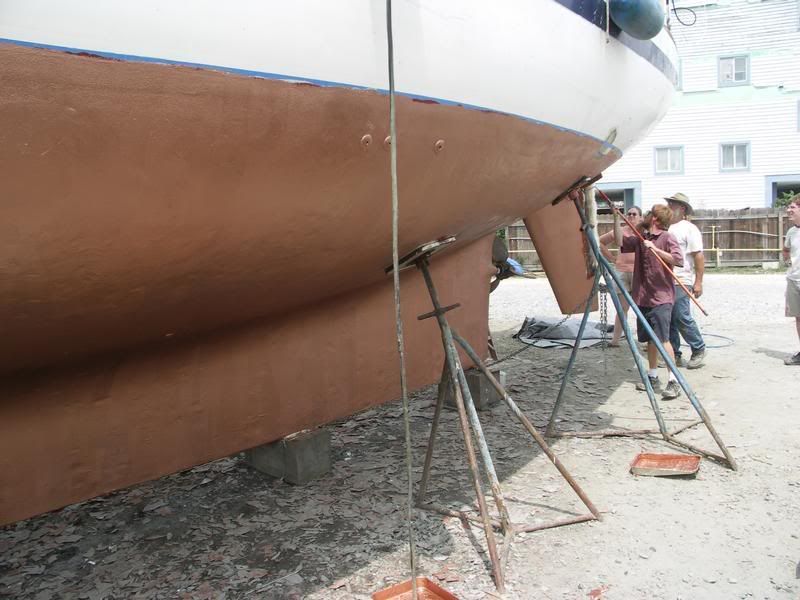
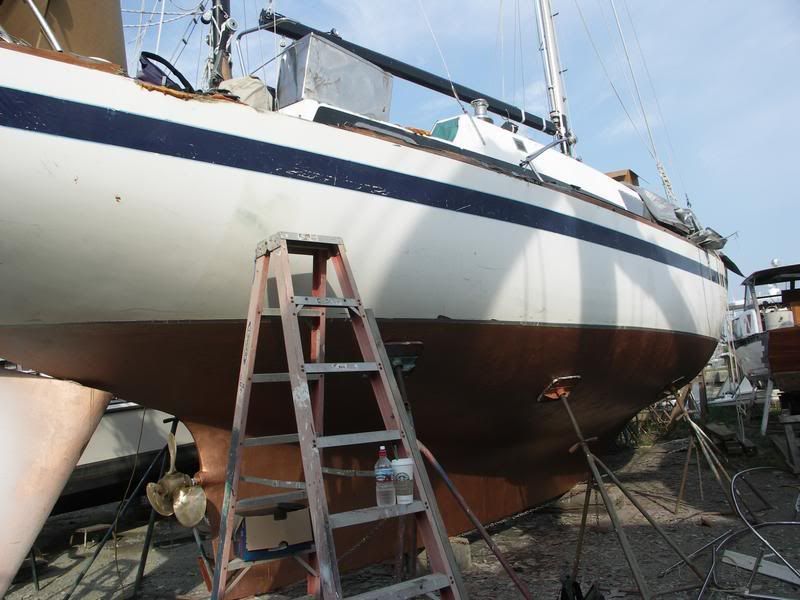
After the CMP paint was good and tacky, it was time for the copperpoxy. The particular product is called "Royal Copper", and is a mixture of epoxy and copper powder. The base/copper is mixed with a hardner, and then xylene is used to thin it to a thick but rollable consistiency.







<< Home